Grasshopper is a dynamic and multifaceted program that allows you to produce complicated 3D forms and shapes. It is the perfect program for tailoring items like square pipes and tubes. Here, we will walk through the steps involved in forming a square pipe with Grasshopper.
To get started on your line, take advantage of the Draw toolbar’s Line command. This will open the door to entering in coordinates for a start and end point as well as the option to specify a length and any extra requirements. Once you’re done providing the details, simply confirm with an OK to put the line in motion.
To get started, you’ll need to draw a rectangle. From the Draw toolbar, select the Rectangle command. This will bring up a window in which you can input the coordinates of the four sides and determine the width and height. Input all of the information accurately, hit OK, and you’ll have your rectangle before you know it!
To create a pipe, select the Pipe command from the Draw toolbar. This action opens a dialog box where you can input the coordinates of both the starting and finishing points of the pipe. Furthermore, you can assign a radius and any other necessary parameters. Once your information has been entered, click OK to generate the pipe.
You’re nearly done! All that’s left to do is link the line, rectangle, and pipe together. Just choose the Connect prompt from the Modify toolbar and a window will appear. Grab the line, the rectangle, and the pipe and click OK to join them altogether.
With a few clicks, you have just made a square pipe in the Grasshopper application. Plus, you can customize the look of the pipe by tinkering with the parameters of the lines, rectangle, and pipe. If desired, additional shapes or components can also be added to your pipe creation.
With just a few clicks of the mouse, Grasshopper lets you easily and quickly generate a square pipe. Furthermore, it offers numerous customisation options with which to make your pipe unique and personalised—so it’s not just like everyone else’s! Complex shapes and objects are also achievable in a breeze with Grasshopper.
Creating a square pipe in Grasshopper is simple and easy with the powerful parametric design tool. Follow the steps laid out in this tutorial to have your own 3D shape ready in no time!
Jumpstarting a foray into Grasshopper requires knowledge of the platform’s terminology and components. After all, this visual programming environment is key to constructing intricate 3D models out of rudimentary parts. Therefore, gaining a foundational understanding of the way it operates is paramount.
Constructing the Container: A Guide to Forming a Box
With the desire to craft a square pipe in Grasshopper, the first step is to form a box. To begin, simply tap the “Create Box” button in the toolbar. Doing so will bring up a new window with an array of options available for making a 3D cube like structure.
To materialize a rectangular container with four identical sides, input the required length and width into the fields and hit the “Create” button. This action will then generate a box corresponding to your desired measurements.
Enlarging the Boundaries: How to Alter the Size of the Box
To construct a square pipe, you must start by setting the size of the box. To begin, select the box; then, press the “Resize” option from the toolbar to open a dialogue window. Here you can enter your desired measurements for the box before clicking apply.
To customise the size of the box, enter your desired measurements in the dialog box. After you have input your figures, press the “Resize” button which will ensure that every side of the box is equal in length.
Designing the Perfect Loft
With the box in place, creating a square pipe requires crafting a loft. To do this, one simply needs to choose the box and press the “Loft” tab located in the toolbar. This will trigger a dialog, wherein loft preferences can be set.
Once you pick “Square” in the dialog box, click “Create” to spawn a square tube of the dimensions you specified.
Number Four: Elevating the Height
After the loft has been constructed, it is time to fine-tune its measurements to get the desired size. To alter the loft parameters, select it and press ‘Edit Loft’ in the toolbar. Then, a dialog box will appear with tools to adjust the loft as specified.
With the click of just one button, the “Apply” option, you can customize the loft so that it fits your exact parameters. It’s easier than ever to mold your loft into your desired specifications.
With the insights provided in this guide, users are now fully equipped to fabricate their own custom square pipes using Grasshopper. Through a concise and straightforward process, the basics of the program are gradually revealed and employed to achieve a variety of 3D shapes and sizes. All that’s needed from here is motioning on to making your own square pipe dreams come true!
Related Product
Warning: Use of undefined constant rand - assumed 'rand' (this will throw an Error in a future version of PHP) in /www/wwwroot/www.ytdrtube.com/wp-content/themes/msk5/single.php on line 77

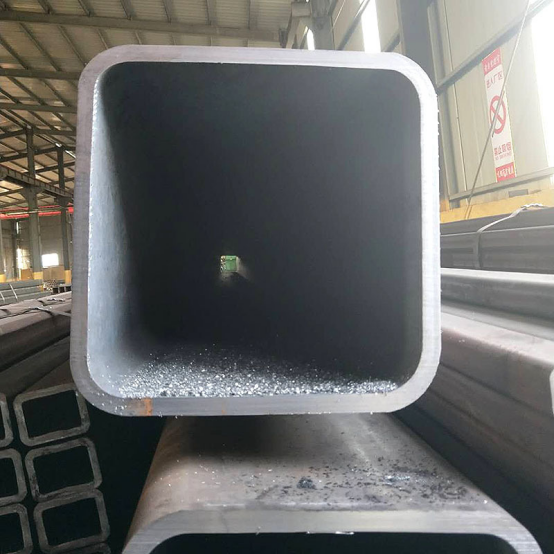
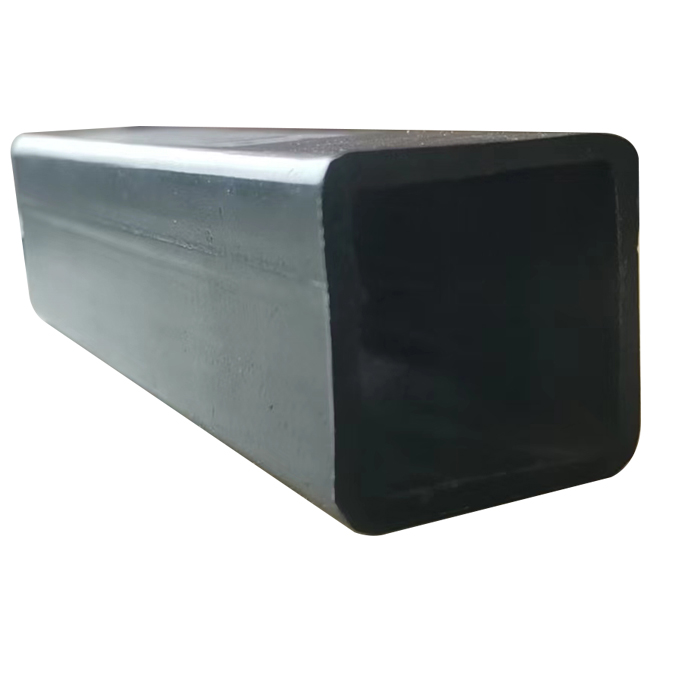
Black Square Steel Tube
SPECIFICATION TABLE OF BLACK SQUARE STEEL TUBE OD(MM) THICKNESS(MM) OD(MM) THICKNESS(MM) OD(MM) THICKNESS(MM) OD(MM) THICKNESS(MM) 20*20 1.3 60*120 80*100 90*90 1.50 180*180 3 300* […]
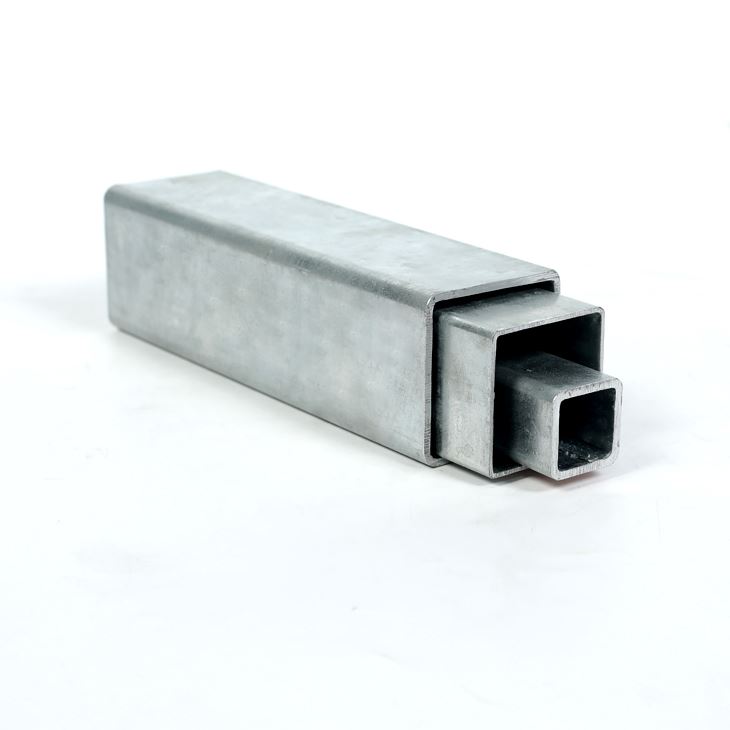
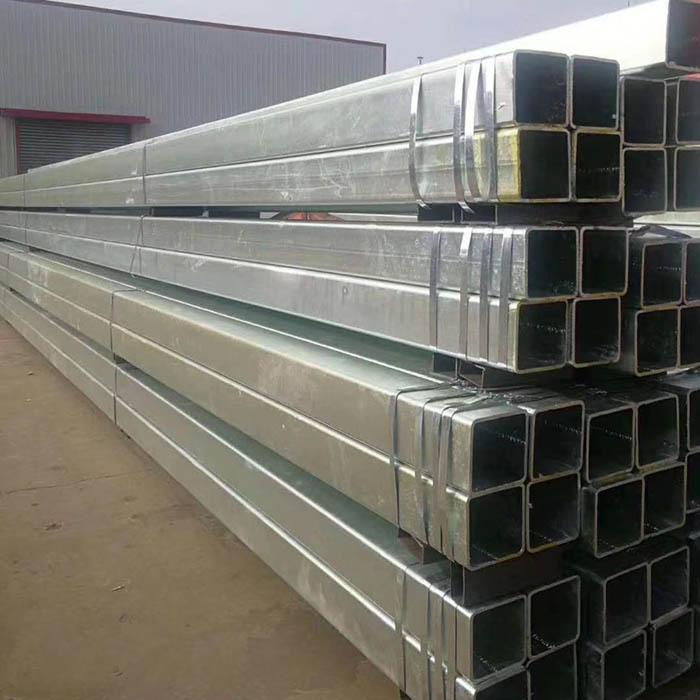
Hot Dip Galvanized Square Steel Pipe HDG Tube
Thickness: 0.5- 60 mm OD(outer diameter): square 10*10-1000*1000mm rectangular:10*15-800*1100mm Section Shape: Square OR rectangular Place of Origin: Tianjin, China Application Str […]
Black Rectangular Hollow Section
OD(MM) THICKNESS(MM) OD(MM) THICKNESS(MM) OD(MM) THICKNESS(MM) OD(MM) THICKNESS(MM) 20*20 1.3 60*120 80*100 90*90 1.50 180*180 3 300*800 400*700 550*550 500*600 1.4 1.70 3.5-3.75 9 […]
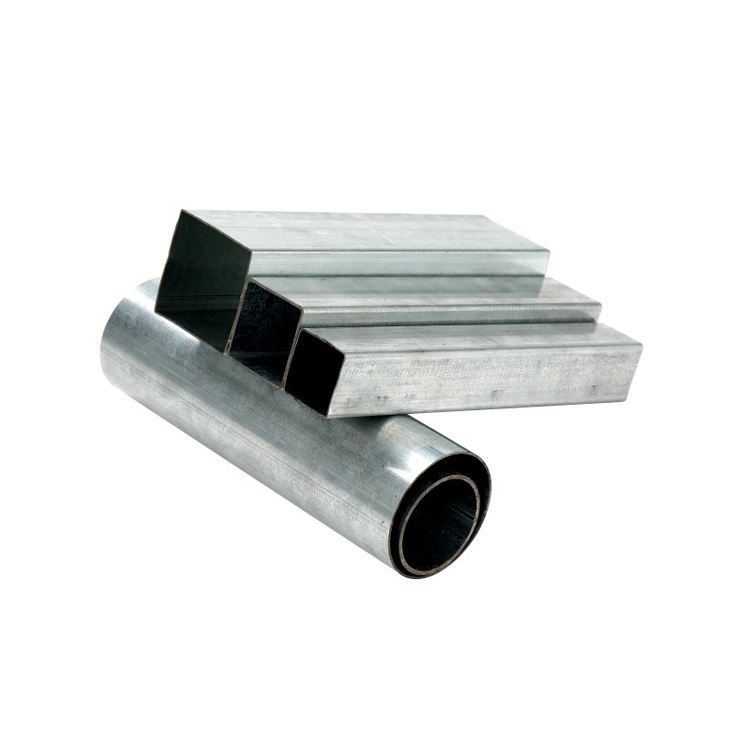
Pre Galvanzied Square Steel Tube
1.Introduction of pre-square tube Coiled pipes are pipes and pipes for processing technological processes, and are the name of general pipes, which are pipes made of long steel coi […]

EN10210 EN10219 Black Carbon Steel Welded Square Pipe
Yuantai Derun Steel Pipe Manufacturing Group is a steel pipe and steel enterprise that has operated for many years, mainly engaged in steel products such as black square and rectan […]
Hot Dip Galvanized Rectangular Steel Tube
Hot dip galvanized rectangular steel tube is a rectangularsquare tube that is welded after the steel plate or steel strip is curled and formed, and is formed after the square tube […]

Square Seamless Steel Pipe
Attribute parameters of seamless square steel tubes Thickness 3- 50 mm Tolerance as required OD(outer diameter) 100*100-800*800 Brand YUANTAI DERUN Section Shape Square OR rec […]
Hot Dip Galvanized Rectangular Hollow Section
Iron and steel materials are indispensable resources in human life today. However, due to its own characteristics, “corrosion is accompanied by us every day and consumes our […]
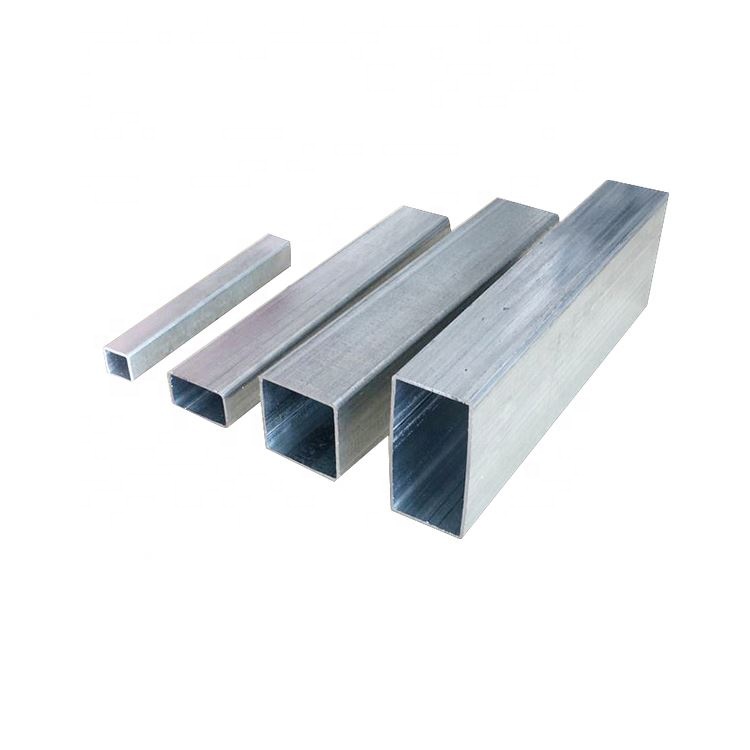
Square Hollow Section
Thickness: 0.5- 60 mm OD(outer diameter): square 10*10-1000*1000mm rectangular:10*15-800*1100mm Section Shape: Square OR rectangular Place of Origin: Tianjin, China Application Str […]
Post time: 2023-07-18
