Uncovering the Perfect Square Edge on Pipes by Hand Sanding
Turning a pipe into a perfectly squared-off edge can be an intimidating venture, but utilizing the suitable techniques and equipment will make it a brief and straightforward job. If you’re tackling a DIY project in the house or aiming to wrap up a task on the worksite, this guide will provide you with all the knowledge you need for success.
Before you commence your journey, there are a few tools that are necessary for successful completion. Listed below are the essential materials for this mission:
To sand down your project, an 80 to 220-grit sandpaper will do the trick, and either a bench vice or a clamp will come in handy.
• Highlighting the Pipe: Pen or Pencil (Article Heading) • Cut-off Disc • Handle-Held Grinder or Dremel • Protection Gear First Step: Indicate the Pipe
To get that perfect square edge for your pipe, marking where you want to shape it is crucial. Put a pencil or permanent marker around the perimeter of the pipe as a guiding marker, following it throughout the entire sanding process.
Cutting the Pipe: What You Need to Know.
The cut-off wheel needs to be carefully held in hand at a 90-degree slant against the pipe in order to craft a sharp and sleek cut parallel to the previously marked line. Take heed while cutting, as this will determine how precise the resulting edge will be.
Differentiating Your Squared Edges: Step Three
Taking the cuttings, you must now turn your attention to the Dremel or handheld grinder and begin to file off the unnecessary pieces. Keep a steady pace and push the tool in a perpendicular fashion against the tube. Grind it until the edge is completely square and meets your design expectations. Go slow so as to avoid making any mistakes.
The Final Touch: Perfectly Polished Edges
With the help of 80-grit sandpaper, it’s time to take those jagged edges and soften them out. Gently sand until the sharpness is eliminated and then move up to a finer covering of 120-grit (or higher) until the finishes are smooth and even.
Evaluate the Neatness of the Corner
With a square in hand, inspect the edge to verify its alignment after the sanding is complete. If there’s anything amiss, adjust accordingly and proceed with sanding until the perfect squareness is achieved.
Finalizing and Tidying Up
To complete the edging process, use a sandpaper of finer grit to add a polished look to the edge. Make sure you have attained the intended square shape, then clear away the lingering powdery residue so that your pipe is ready for deployment.
For the sake of your safety, wearing the proper items when working with a cut-off wheel, Dremel or hand-held grinder is a must – namely, protective eyewear and ear guards.
Crafting the perfect square edge on a pipe may appear intimidating, however with the correct gadgets and methods, any home repair person or DIY hobbyist can easily accomplish this task. By utilizing these straightforward instructions, you’ll be rewarded with a perfectly precise edge that’s ready to go! Don’t rush; be prudent and have fun in the process!
Related Product
Warning: Use of undefined constant rand - assumed 'rand' (this will throw an Error in a future version of PHP) in /www/wwwroot/www.ytdrtube.com/wp-content/themes/msk5/single.php on line 77
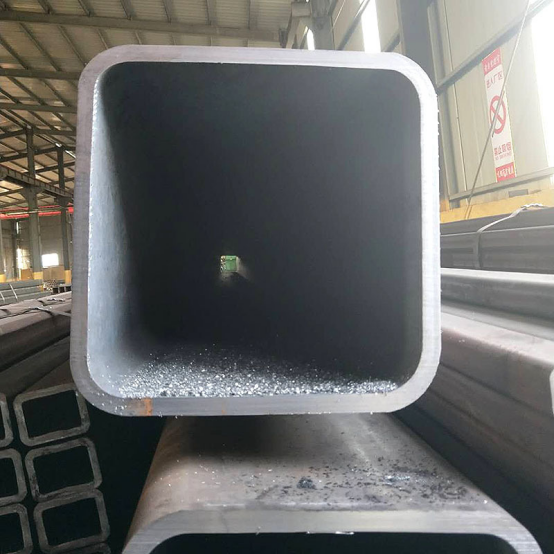
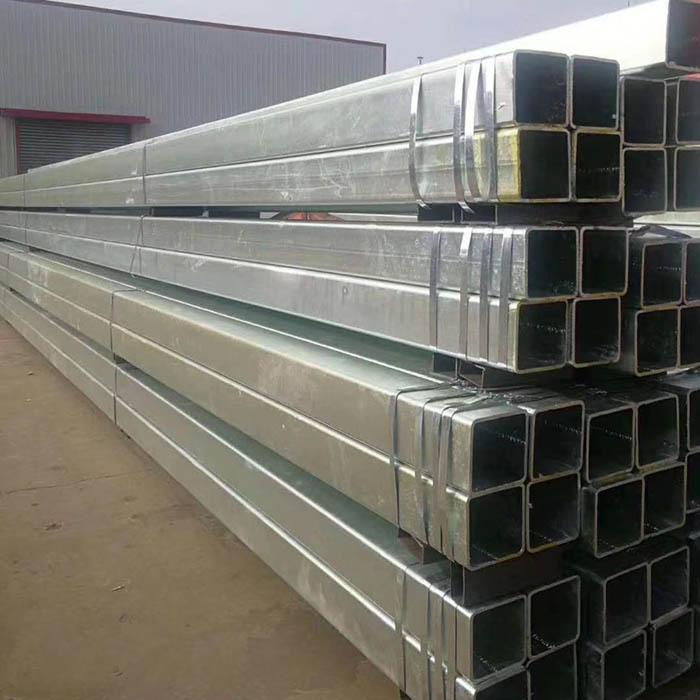
Square Hollow Section
Thickness: 0.5- 60 mm OD(outer diameter): square 10*10-1000*1000mm rectangular:10*15-800*1100mm Section Shape: Square OR rectangular Place of Origin: Tianjin, China Application Str […]
Hot Dip Galvanized Rectangular Steel Tube
Hot dip galvanized rectangular steel tube is a rectangularsquare tube that is welded after the steel plate or steel strip is curled and formed, and is formed after the square tube […]
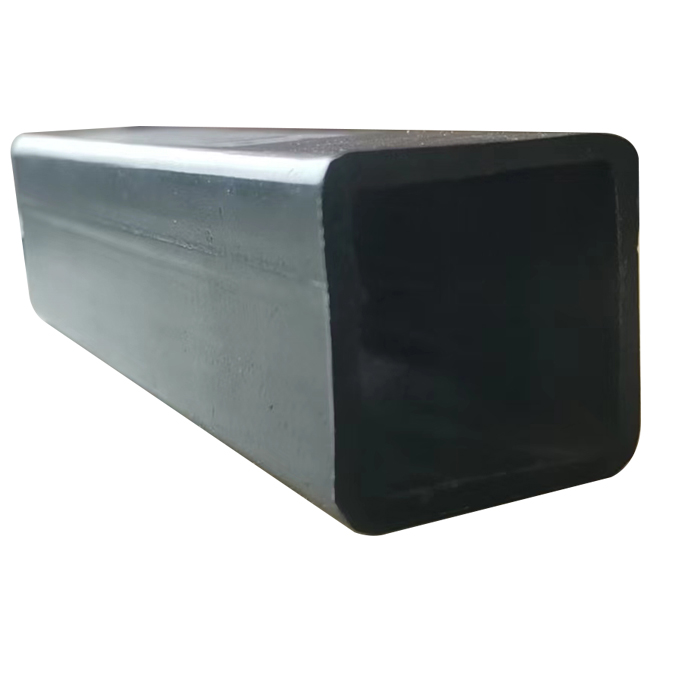
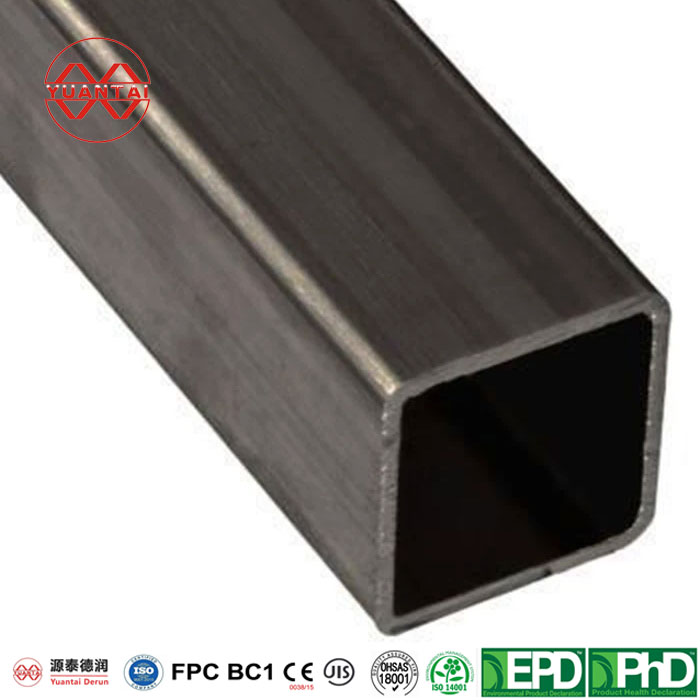
Black Rectangular Hollow Section
OD(MM) THICKNESS(MM) OD(MM) THICKNESS(MM) OD(MM) THICKNESS(MM) OD(MM) THICKNESS(MM) 20*20 1.3 60*120 80*100 90*90 1.50 180*180 3 300*800 400*700 550*550 500*600 1.4 1.70 3.5-3.75 9 […]

Square Seamless Steel Pipe
Attribute parameters of seamless square steel tubes Thickness 3- 50 mm Tolerance as required OD(outer diameter) 100*100-800*800 Brand YUANTAI DERUN Section Shape Square OR rec […]
Pre Galvanzied Square Steel Tube
1.Introduction of pre-square tube Coiled pipes are pipes and pipes for processing technological processes, and are the name of general pipes, which are pipes made of long steel coi […]
Hot Dip Galvanized Rectangular Hollow Section
Iron and steel materials are indispensable resources in human life today. However, due to its own characteristics, “corrosion is accompanied by us every day and consumes our […]
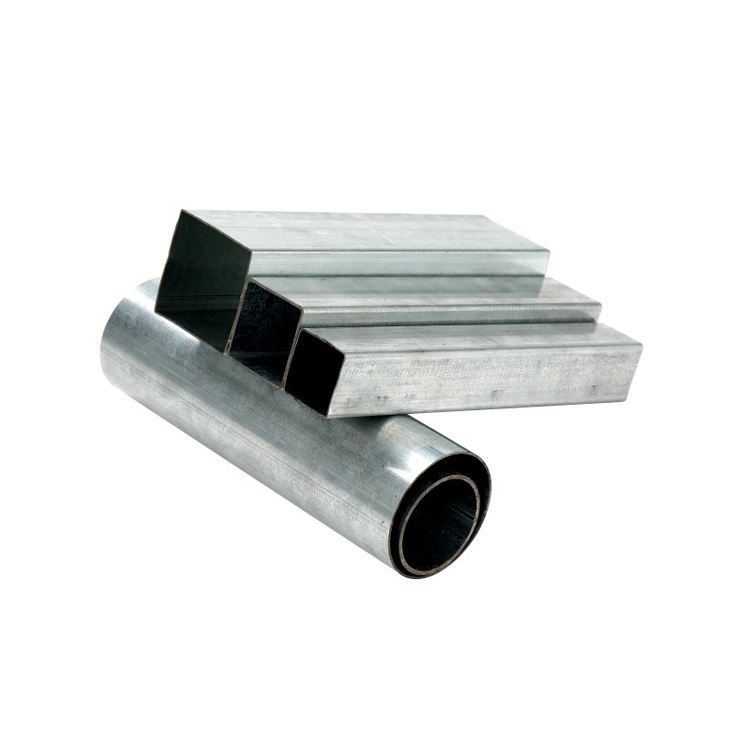
Square Steel Pipe Carbon Steel Pipe
Thickness 0.5- 60 mm Tolerance as required OD(outer diameter) square 10*10-1000*1000mm rectangular Brand YUANTAI DERUN Section Shape Square OR rectangular Length 3-12M according to […]
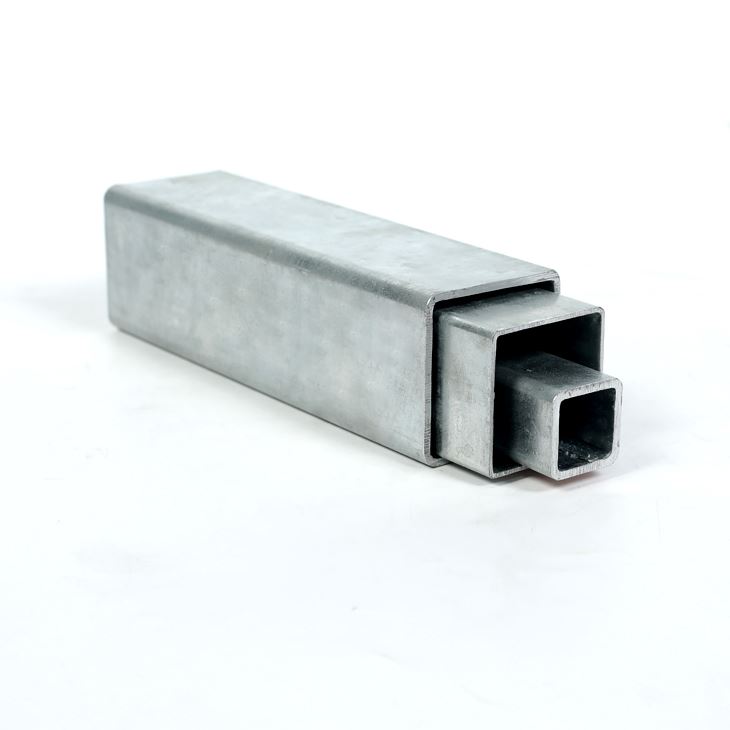
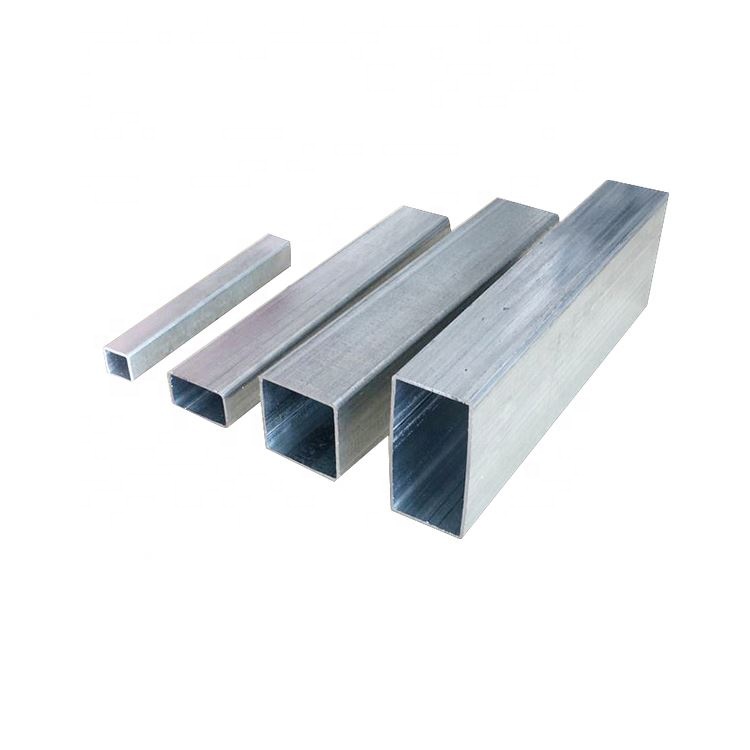
Hot Dip Galvanized Square Steel Pipe HDG Tube
Thickness: 0.5- 60 mm OD(outer diameter): square 10*10-1000*1000mm rectangular:10*15-800*1100mm Section Shape: Square OR rectangular Place of Origin: Tianjin, China Application Str […]

EN10210 EN10219 Black Carbon Steel Welded Square Pipe
Yuantai Derun Steel Pipe Manufacturing Group is a steel pipe and steel enterprise that has operated for many years, mainly engaged in steel products such as black square and rectan […]
Post time: 2023-05-27
